Understanding Exposure
Before it is a setting, exposure is a decision — how much light you let the world leave on the sensor.
Have you ever taken a photo that turned out way too dark, or so bright that all the details disappeared? Understanding exposure in photography is the single most important step to turning disappointing snapshots into stunning, professional-looking images.
At its core, exposure is simply the amount of light that reaches your camera sensor when you take a picture. Get it right, and your photos will be crisp, clear, and perfectly balanced. Get it wrong, and you run the risk of under or overexposed photos. In this comprehensive guide, we will break down understanding exposure into simple, actionable concepts. You will learn how the three pillars of photography—aperture, shutter speed, and ISO—work together to give you full creative control over every shot you take.What exposure really means
Strip away the menus and the acronyms, and exposure is a simple thing: the amount of light that reaches your sensor while the shutter is open. Too little, and the image sinks into shadow. Too much, and it dissolves into white. Everything else — every dial, every reading — exists only to govern that one flow of light.
Think of the sensor as a vessel left out in the rain. Exposure is how long you leave it out, how wide you open its mouth, and how sensitive it is to each drop. Fill it well and the frame holds detail from the darkest granite to the brightest foam. This is the whole game, and once you feel it that way, the settings stop being obstacles.
The exposure triangle
Three controls decide how much light lands and what that light looks like. Most guides describe what they do to the meter. It is more useful to learn them by what they do to the picture — because each one is also a creative choice.

Depth
How wide the lens opens. A wide aperture floods the sensor and throws the background into softness; a narrow one starves it of light but holds the whole scene sharp — from the foreground rock to the far headland.
Movement
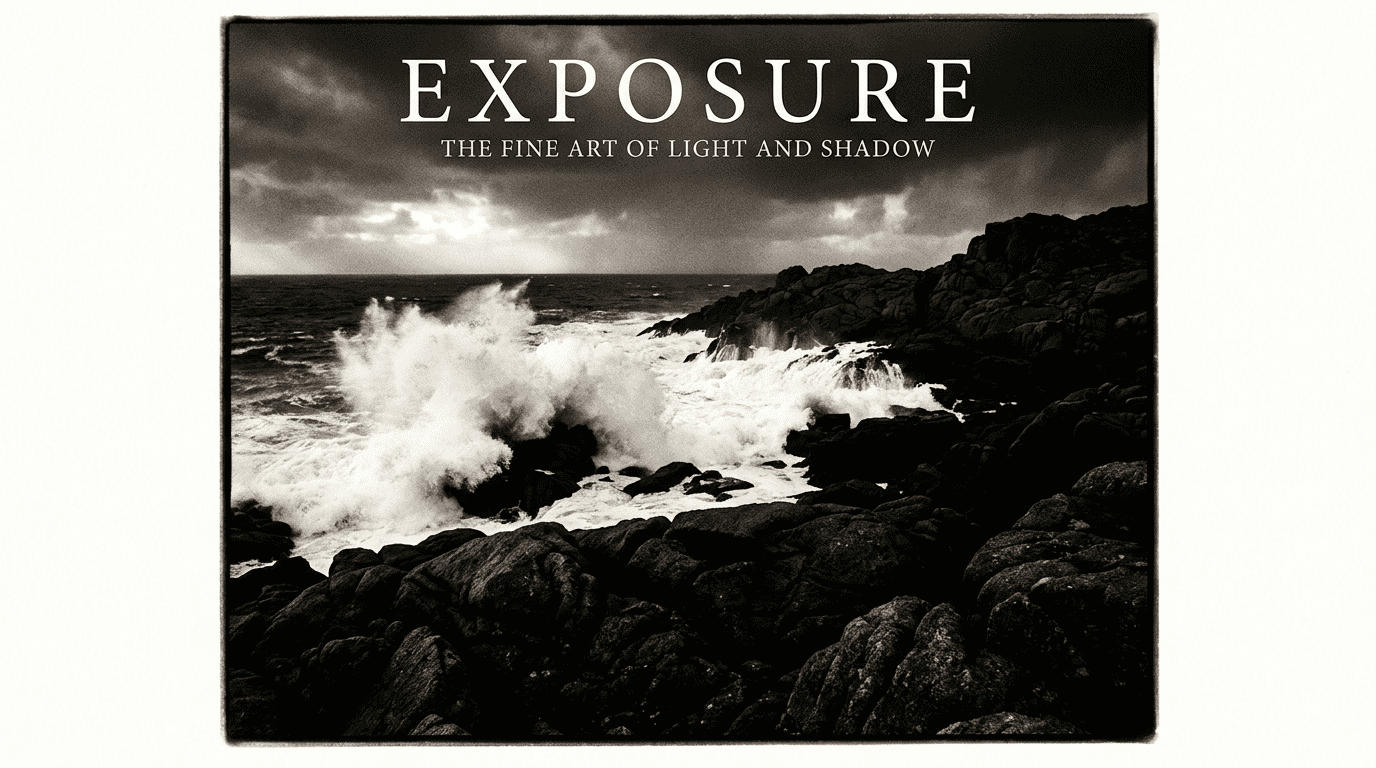
How long the sensor stays open to the light. Fast, and the breaking wave freezes mid-shatter. Slow, and the same wave becomes mist drawn across the rock — the difference between the fury and the grace, held in a single dial.
The trade
How strongly the signal is amplified. Raise it and you buy light in low conditions; the cost is texture — a fine grain rising through the shadows. Not always an enemy, but always a choice you make on purpose.
Change one, and the light budget shifts. Open the aperture and you can shorten the shutter; lower the ISO and you may need to slow it down. They are not three separate settings but one conversation, and learning exposure is learning to hear all three at once.
There is no correct exposure
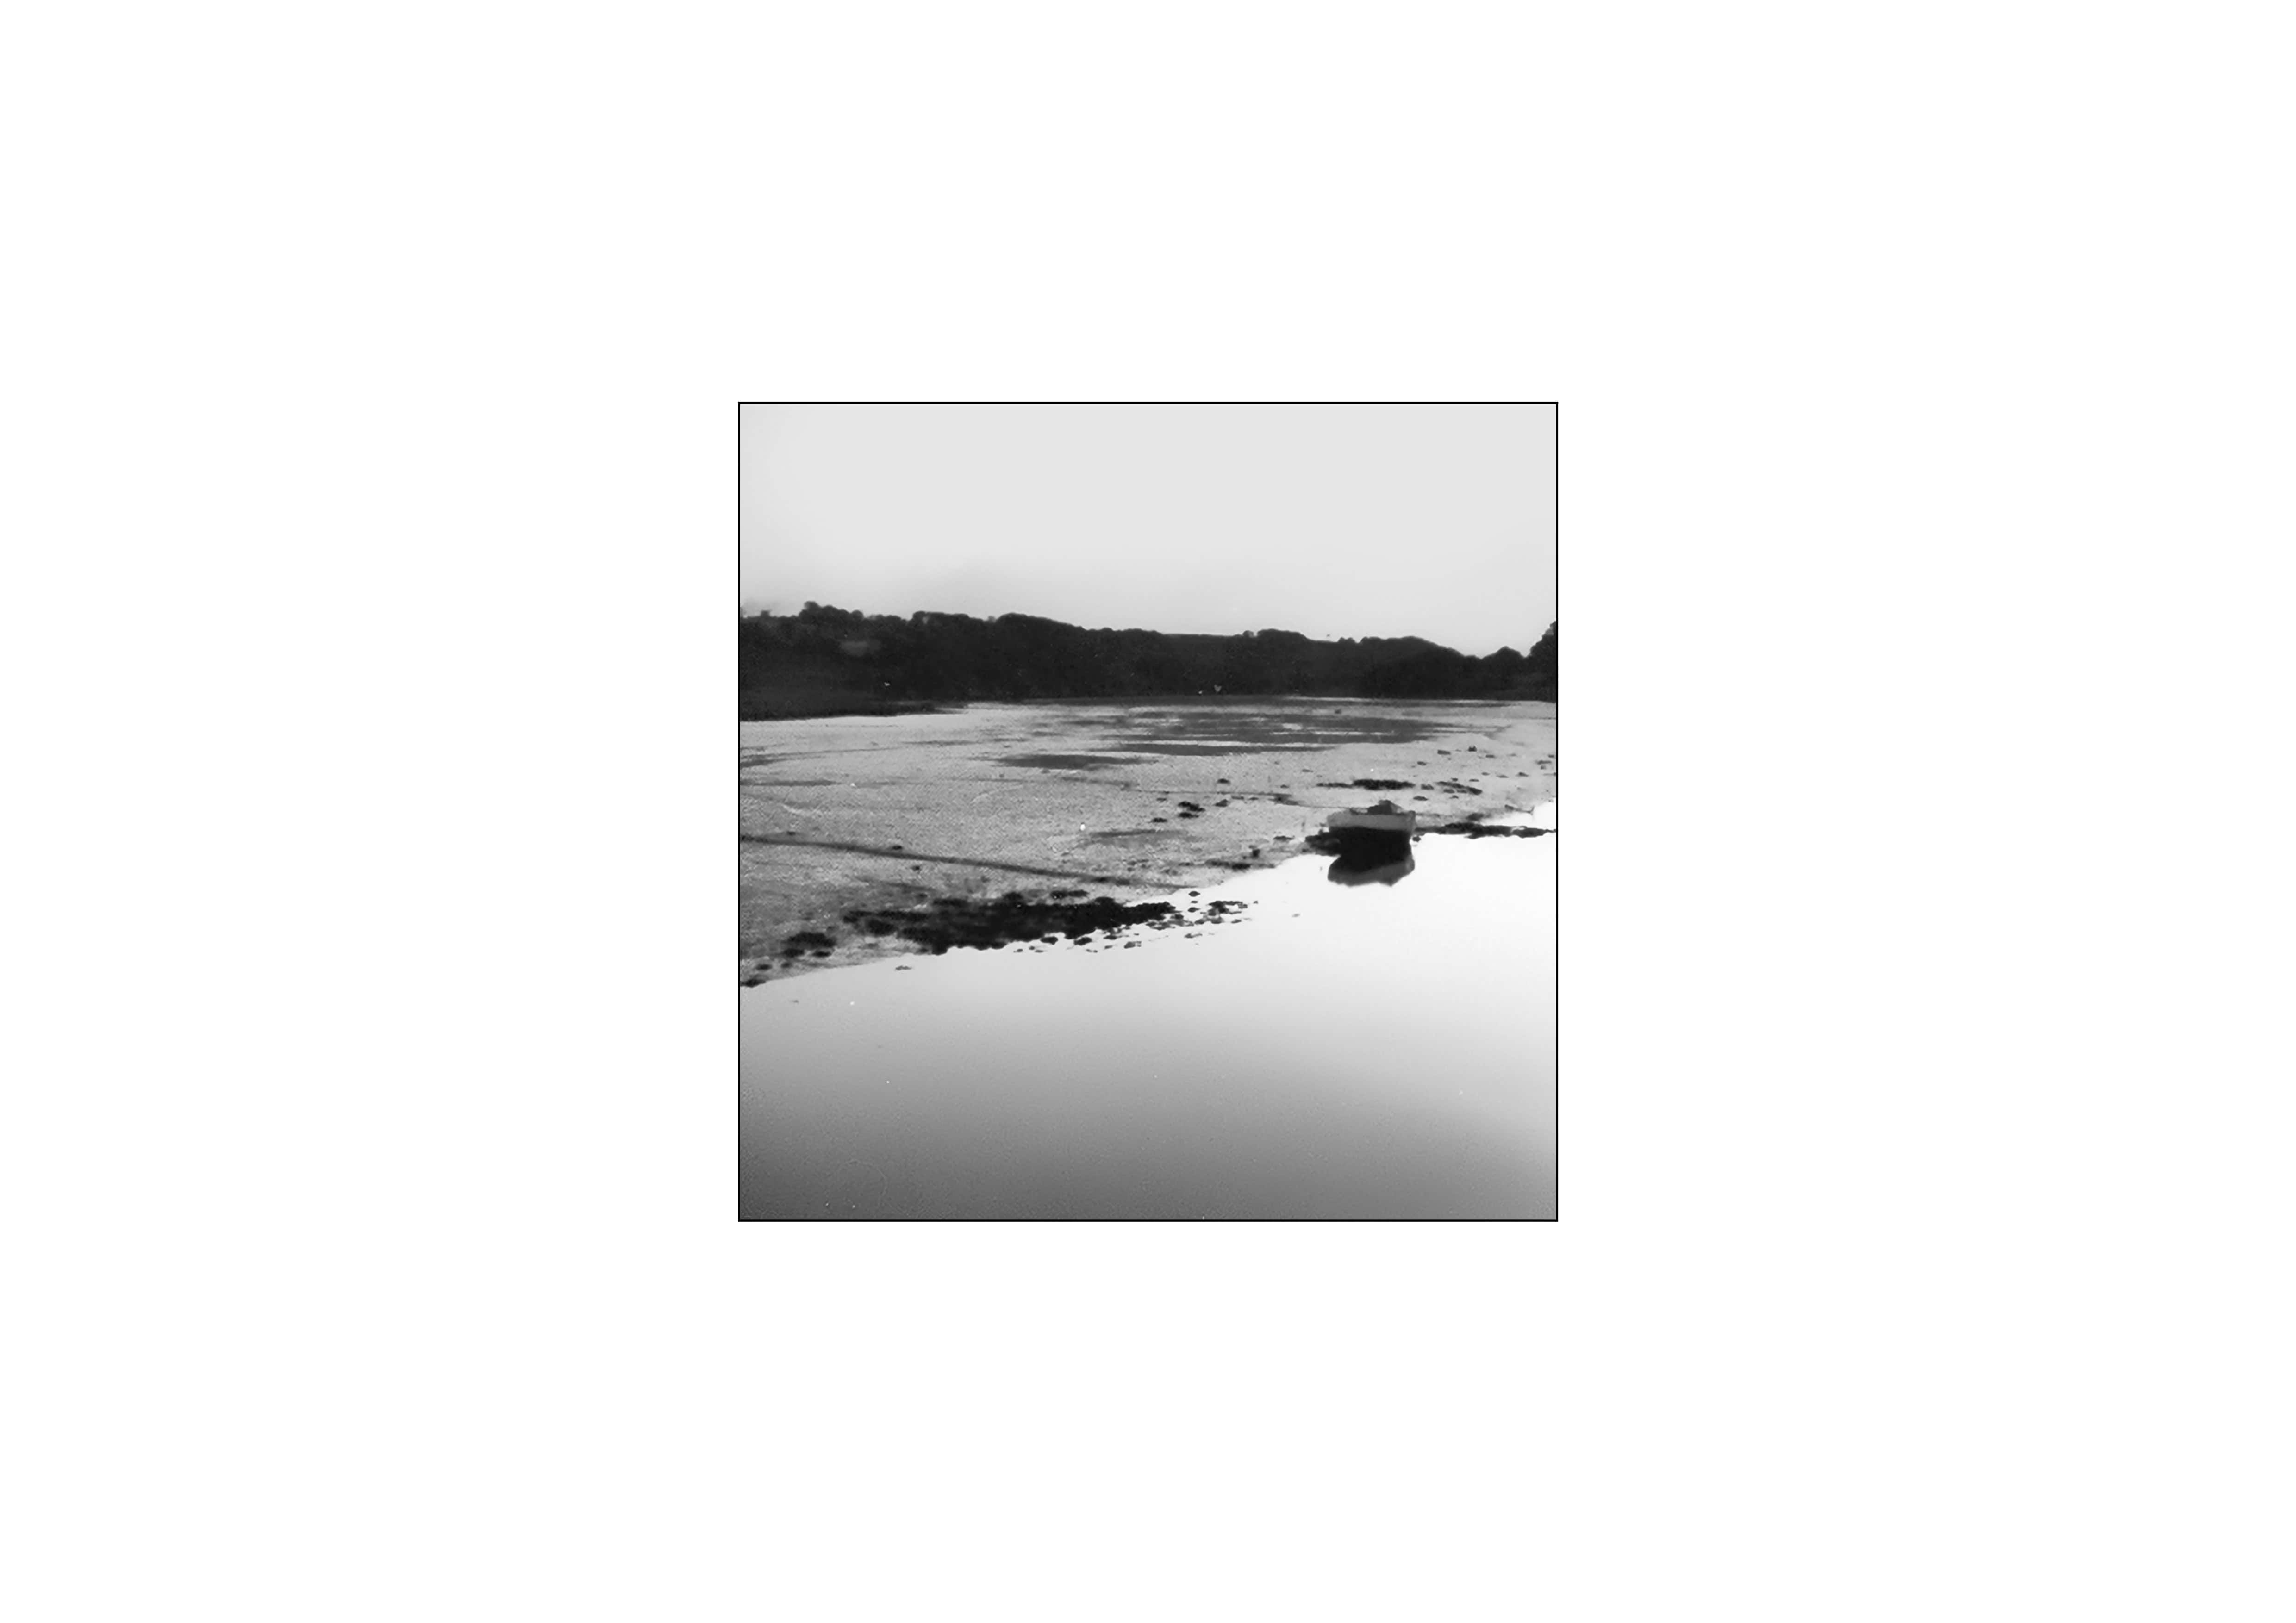
The camera will tell you that the scene is properly exposed. It is measuring toward a neutral grey — a mathematical average, not an intention. On the coast, where a white sky meets black wet stone, that average is almost always wrong for what you feel.
The histogram is a tool, not a judge. It shows you where the light fell — never where it belongs.
Expose for the emotion, not the meter. A high-key frame — bright, quiet, drained of contrast — is how the Atlantic Silences breathe; you push the exposure up and let the histogram lean right on purpose. A study of granite lives at the other end: deep, weighted, the shadows kept dark because that is where the gravity is. Neither is a mistake. Both are decisions.
So read the histogram to protect your detail — to make sure the highlights are not truly clipped and the shadows still hold information — and then place your exposure where the picture wants to live. The right exposure is the one that serves the image you came to make.
Adams, the Zone System, and the darkroom in your hands
Long before histograms glowed on the back of a camera, Ansel Adams and Fred Archer built a way of thinking that still governs how a thoughtful photographer exposes. They called it the Zone System, and its premise is quietly radical: you do not photograph what the meter sees — you decide, before the shutter opens, where each tone in the scene should fall.
Adams divided the tonal range into eleven zones, from pure black to pure white, marked with Roman numerals. Zone 0 is total black with no detail; Zone V is middle grey — exactly what your camera’s meter assumes everything to be; Zone X is paper-white, blown clean. The zones between are the ones that matter: Zone III, where shadow detail first appears, and Zone VII, where highlight texture still holds.
The practical genius of this is placement. Point your spot meter at a wet granite face and the camera wants to render it Zone V — a flat middle grey. But you know that stone is dark. So you place it deliberately on Zone III, closing down about two stops from what the meter suggests, and the rock keeps its weight and menace. Meter the foam of a breaking wave and the camera again pulls it to grey; you place it on Zone VII or VIII instead, and the sea keeps its brightness without going blank. This is exposing for intention rather than obedience — the very heart of the previous section, given a precise language.
You place a tone. The rest of the scene falls where it will — and that is where the print begins.
Reading it on the histogram
The modern histogram is the Zone System made visible. Its horizontal axis is the zone scale — pure black at the far left, paper-white at the far right, middle grey in the centre. Where the peaks pile up tells you which zones your scene occupies. Three deliberate placements, three very different graphs:
Dodge and burn — finishing what exposure began
Adams rarely considered a negative finished at exposure. In the darkroom he would hold light back from some areas of the print and add it to others — dodging to lighten, burning to darken — coaxing each region toward the zone he had imagined on the tripod. His famous prints were not captured whole; they were built, sometimes over hours, one region at a time.
Lightroom and Camera Raw put that same darkroom in a set of local tools. The adjustment brush, the radial and linear gradients, and the masking panel let you lift a foreground rock out of shadow while leaving the sky untouched, or pull a hot patch of cloud back down before it burns to white. The principle is unchanged since Adams: expose to protect the full range of information, then guide the eye by lightening and darkening locally — dodging the point of focus into prominence, burning the edges of the frame so the gaze stays where you want it.
This is why exposing to protect detail matters so much on the coast. A histogram nudged right, shadows kept just off the left wall, highlights held just short of Zone X — that is the negative Adams would have wanted: rich in information, waiting for your hands. The exposure is where the photograph is received. The dodging and burning is where it is authored.
Metering a Finistère sky
A bright overcast sky will fool the meter into darkening everything beneath it. Meter off the mid-toned rock or the water instead of the sky, then use exposure compensation to lift the frame back to where you want it — often +0.7 to +1.3 stops when the sky dominates.
For the moving sea, decide the story first: a fast shutter to hold a wave’s collapse, or several seconds on a tripod to smooth the water to silk. On Skye’s long, low light, expose to keep the highlights just short of clipping and recover the shadows later — the approach explored in the ETTR article.